

Category: HVAC Tips
A residential heat pump installation is more than replacing an outdoor air-conditioning unit. The process includes home measurements, equipment sizing, ductwork and electrical evaluations, refrigerant-line installation, thermostat programming, and detailed performance testing.
For homeowners in Wheeling and the Chicagoland area, careful planning matters. A properly selected and installed heat pump can provide efficient cooling in summer, dependable heating during much of the winter, and long-term energy savings. A rushed installation, however, can lead to uneven temperatures, excessive noise, higher utility bills, and premature equipment wear.
Here is what you should expect from a quality installation.
What happens during the pre-installation home assessment?
A professional installer begins by evaluating your home before recommending equipment. This assessment identifies the heating and cooling requirements, existing system limitations, and any upgrades needed for safe, efficient operation.

During the visit, the technician should review:
- Home size, layout, ceiling height, and window placement
- Insulation levels and noticeable air leakage
- Existing furnace, air conditioner, or air handler
- Supply registers, return grilles, and ductwork condition
- Electrical panel capacity and available breaker space
- Outdoor unit location, drainage, and service access
- Your comfort concerns, including hot or cold rooms, noise, and humidity
A good assessment also includes a conversation about how the system will operate during cold Chicagoland weather. Depending on the home and equipment, the design may include electric auxiliary heat, a dual-fuel system with a gas furnace, or another backup strategy.
This is also the right time to discuss whether your existing heating system should be replaced or integrated.
Why is a load calculation important for heat pump sizing?
A load calculation determines how much heating and cooling capacity your home actually needs. It prevents the common mistake of choosing equipment based only on square footage or the size of the old system.
The contractor should use a recognized residential load-design method, such as ACCA Manual J, to account for:
- Local outdoor design temperatures
- Insulation and air-sealing conditions
- Window size, orientation, and efficiency
- Number of occupants and internal heat sources
- Room-by-room heating and cooling requirements
- Duct losses and airflow limitations
Oversized equipment may cycle on and off too frequently. That can waste energy, reduce humidity control, and create temperature swings. Undersized equipment may run continuously without keeping the home comfortable during extreme summer or winter conditions.
In Chicagoland, ask how the proposed heat pump performs at low outdoor temperatures. The system should be selected for the home’s actual load, not simply for its advertised maximum capacity.
How does the contractor check the ductwork?
The ductwork must be able to move the correct amount of air through the home. A high-efficiency heat pump cannot deliver its expected comfort or energy performance if the ducts are restricted, poorly sealed, or incorrectly sized.
The technician may check:
- Supply and return sizing: Each duct run should support the required airflow without excessive resistance.
- Static pressure: This measures how difficult it is for the blower to move air through the system.
- Air leaks: Unsealed joints can allow conditioned air to escape into attics, crawlspaces, or mechanical areas.
- Insulation: Ducts in unconditioned spaces should be properly insulated.
- Dampers and balancing: Airflow may need adjustment to address rooms that have always felt too warm or too cool.
Minor sealing or balancing work may be completed during installation. Larger issues may require new returns, modified supply runs, or duct replacement. These changes can add time, but they often improve comfort and reduce strain on the equipment.
If your new heat pump will also handle the home’s cooling needs, include AC installation and replacement considerations in the system design.
What should be checked in the electrical panel?
A heat pump uses electricity to operate the outdoor compressor and indoor blower. Auxiliary electric heat, if included, can add a significant electrical demand, so the installer must verify that the home can support the new equipment safely.
The assessment should include:
- Main service size and available capacity
- Existing breaker configuration
- Required circuit and breaker sizes
- Electrical disconnect location
- Wiring condition and grounding
- Panel space for new dedicated circuits
- Whether an electrical service or panel upgrade is needed
The outdoor unit typically requires a dedicated circuit. The indoor air handler and electric auxiliary heat may require separate circuits based on the manufacturer’s specifications and applicable code requirements.
Do not assume that a panel with an open breaker space automatically has enough capacity. A qualified professional should evaluate the complete electrical load. MMDS also provides residential electrical services when wiring, disconnects, or panel work must be addressed as part of the project.
Where are the indoor and outdoor units installed?
Unit placement affects airflow, service access, drainage, noise, and winter performance. The indoor air handler or coil is usually installed near the existing furnace or air-handling equipment and connected to the home’s duct system.
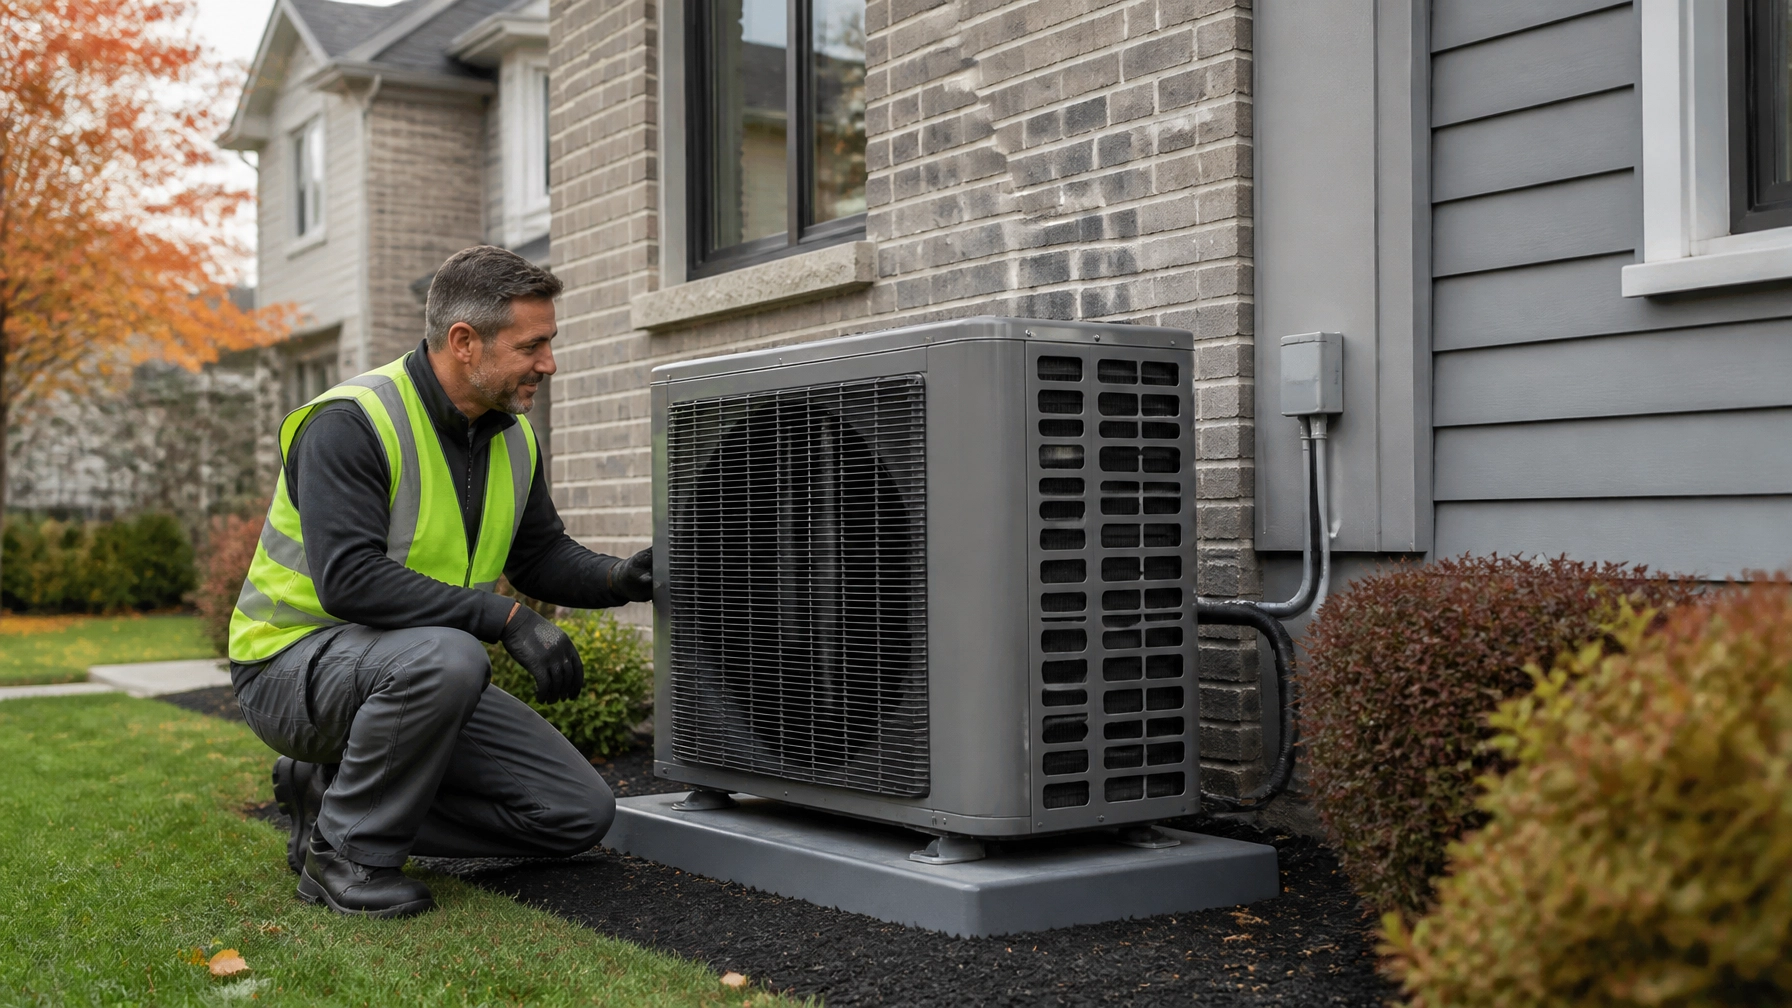
The outdoor heat pump should be installed on a stable, level pad with appropriate clearance around the unit. In the Chicagoland area, the location should also account for snow, ice, roof runoff, and water drainage.
A quality installation typically includes:
- A level concrete or composite pad
- Adequate clearance for airflow and future service
- Elevation above areas prone to snow accumulation or standing water
- Protection from falling ice and roof runoff
- A location that limits noise near bedrooms and outdoor living areas
- Clear access for filter, coil, electrical, and refrigerant service
The unit should not be crowded against a wall, buried in landscaping, or placed where snow can block the coil. During defrost operation, the heat pump produces water, so drainage around the unit is important.
What happens when refrigerant lines and wiring are connected?
The refrigerant lines connect the indoor and outdoor components and allow the heat pump to transfer heat. This part of the installation requires careful workmanship because contamination, leaks, poor insulation, or an incorrect charge can reduce efficiency and shorten equipment life.

During this stage, the technician should:
- Route the line set neatly between the indoor and outdoor units
- Protect wall penetrations from weather and pests
- Insulate refrigerant lines properly
- Use manufacturer-approved connection and brazing practices
- Pressure-test the system for leaks
- Evacuate moisture and non-condensable gases from the lines
- Confirm the final refrigerant charge according to specifications
- Install and secure electrical conduit and communication wiring
- Seal penetrations and protect exposed components
If an existing air conditioner is being replaced, refrigerant must be recovered and handled appropriately. The new system should not simply be connected to old lines without confirming that the line size, length, cleanliness, and condition meet the equipment requirements.
Neat line-set covers, secure wiring, sealed penetrations, and organized connections are visible signs that the installer is focused on long-term reliability rather than speed alone.
What does SEER2 mean during a heat pump installation?
SEER2 is the updated seasonal efficiency rating for cooling performance. A higher SEER2 rating generally indicates that the system can provide cooling with less electricity under standardized test conditions, although installation quality and home conditions strongly influence real-world results.
When comparing equipment, also review:
- SEER2: Seasonal cooling efficiency
- EER2: Efficiency during specific operating conditions
- HSPF2: Seasonal heating efficiency
- Low-temperature heating performance
- Compressor type and operating range
- Sound ratings
- Thermostat and control compatibility
A higher rating alone does not guarantee lower utility bills. Correct sizing, adequate airflow, proper refrigerant charge, sealed ducts, and correctly configured controls are essential for the equipment to approach its intended performance.
This is why two homes with the same model can experience different results. The installation practices determine whether the equipment can operate efficiently and maintain stable comfort.
How is the thermostat configured?
The thermostat must be set up specifically for heat pump operation. A standard furnace configuration may not properly control heating stages, auxiliary heat, defrost operation, or dual-fuel equipment.
The technician should verify:
- Heating and cooling mode operation
- Fan settings and airflow control
- Auxiliary or emergency heat staging
- Dual-fuel changeover settings, when applicable
- Temperature limits and outdoor sensor settings
- Smart thermostat compatibility
- Communication between the thermostat, indoor unit, and outdoor unit
The installer should demonstrate normal operation before leaving. Ask what happens during a very cold day, when auxiliary heat may operate, and how to recognize normal defrost behavior.
You should also receive guidance on filter replacement, thermostat adjustments, and routine maintenance. Simple operating mistakes can increase energy use and reduce comfort.
What happens during final commissioning and testing?
Commissioning is the final testing process that confirms the system is installed, configured, and operating as designed. It separates a complete installation from a basic equipment swap.
The technician should verify:
- Supply and return temperatures
- Airflow and static pressure
- Refrigerant pressure and charge
- Electrical voltage and operating amperage
- Compressor and blower operation
- Defrost cycle performance
- Condensate drainage
- Safety controls and disconnects
- Thermostat calls in heating and cooling modes
- Auxiliary or backup heat operation
The system should run long enough to stabilize before measurements are taken. The technician should document important readings and correct problems before the installation is considered complete.
For projects in Chicago, permit requirements may apply. The City of Chicago’s mechanical HVAC guidance identifies new residential heat pump installations as work that may require appropriate HVAC load calculations and supporting documents. Requirements can vary by municipality, so your contractor should explain the applicable permit and inspection process for your property.
How can you tell a quality installation from a rushed one?
A quality installation is documented, measured, and explained. It is not defined only by how quickly the old equipment is removed and the new unit starts running.
Look for these signs of professional work:
- A written load calculation or clear sizing explanation
- A documented ductwork and airflow review
- Electrical capacity verification
- Proper outdoor unit clearance and elevation
- Clean refrigerant-line routing
- Pressure testing and evacuation
- Thermostat configuration for heat pump operation
- Final heating and cooling performance testing
- Manufacturer information and warranty documentation
- A homeowner walkthrough and maintenance explanation
- Clean work areas and responsible equipment disposal
MMDS customer Vadim Azrikan shared that the team was “professional, honest, and easy to work with from start to finish” after installing an inverter heat pump and furnace system. That kind of communication matters because homeowners should understand what is being installed, why it was selected, and how it will perform.
What should a homeowner do after installation?
Start by learning the thermostat settings and checking the filter on the schedule recommended by your installer. Keep the outdoor unit clear of leaves, grass clippings, snow, and other obstructions.
You should also:
- Save model numbers and installation documents
- Ask when the first maintenance visit should occur
- Keep supply registers and return grilles unobstructed
- Watch for unusual noise, weak airflow, or repeated short cycles
- Schedule service if ice remains on the outdoor coil after a normal defrost cycle
- Contact the installer promptly if comfort problems appear
Regular maintenance helps protect efficiency, indoor comfort, and equipment longevity.
Are you ready to plan a residential heat pump installation?
A properly designed residential heat pump installation can give your family efficient year-round comfort while reducing unnecessary energy use. The best results come from matching the equipment to the home, preparing the ductwork and electrical system, completing the refrigerant work carefully, and commissioning the system before the job is finished.
Mechanical Management & Design Solutions (MMDS) serves homeowners in Wheeling and the Chicagoland area with residential HVAC replacement and installation. Call or Text (847) 221-6280 to discuss your home, comfort goals, and heat pump options.
If you're upgrading your HVAC system, help yourself and make sure the equipment you are purchasing qualifies for one of these discounts:
- Up to $900 on < 2.5 tons, ≥ 15.2 SEER2, ≥ 9.4 EER2, ≥ 8.1 HSPF2
- Up to $1,400 on ≥ 2.5 tons, ≥ 15.2 SEER2, ≥ 9.4 EER2, ≥ 8.1 HSPF2
- Up to $1,500 on < 2.5 tons, ≥ 17 SEER2, ≥ 9.4 EER2, ≥ 8.5 HSPF2
- Up to $2,000 on ≥ 2.5 tons, ≥ 17 SEER2, ≥ 9.4 EER2, ≥ 8.5 HSPF2
Discount with ENERGY STAR® certified smart thermostat:
- Up to $975 on < 2.5 tons, ≥ 15.2 SEER2, ≥ 9.4 EER2, ≥ 8.1 HSPF2
- Up to $1,475 on ≥ 2.5 tons, ≥ 15.2 SEER2, ≥ 9.4 EER2, ≥ 8.1 HSPF2
- Up to $1,575 on < 2.5 tons, ≥ 17 SEER2, ≥ 9.4 EER2, ≥ 8.5 HSPF2
- Up to $2,075 on ≥ 2.5 tons, ≥ 17 SEER2, ≥ 9.4 EER2, ≥ 8.5 HSPF2
To apply for these discounts, Call or Text MMDS at (847) 221-6280. Our team will help you select the eligible equipment and handle the necessary documentation to ensure you receive your savings.
Frequently Asked Questions
-
How long does a residential heat pump installation take?
A straightforward replacement may be completed in one day. Ductwork repairs, electrical upgrades, difficult access, or permit requirements can extend the schedule. -
Can a heat pump work during Chicagoland winters?
Yes. Cold-climate equipment and an appropriate backup heating strategy can provide reliable comfort during low temperatures. The system must be properly sized and configured for local conditions. -
Do I need new ductwork for a heat pump?
Not always. Existing ductwork may work well if it is correctly sized, sealed, insulated, and capable of delivering the required airflow. -
Will my electrical panel support a heat pump?
It depends on the home’s service size, existing electrical load, available breaker space, and whether electric auxiliary heat is included. A professional electrical evaluation should be completed before installation. -
What should the installer provide when the job is complete?
Ask for equipment documentation, warranty information, thermostat instructions, maintenance recommendations, and confirmation that the system was tested in heating and cooling modes.